

How to Install a Spinning Window on a CNC Machine
A real, hands-on look at retrofitting a spinning window — what to check before you start, how mounting works, and what a finished install looks like across different machines.
01
Confirm your mounting method
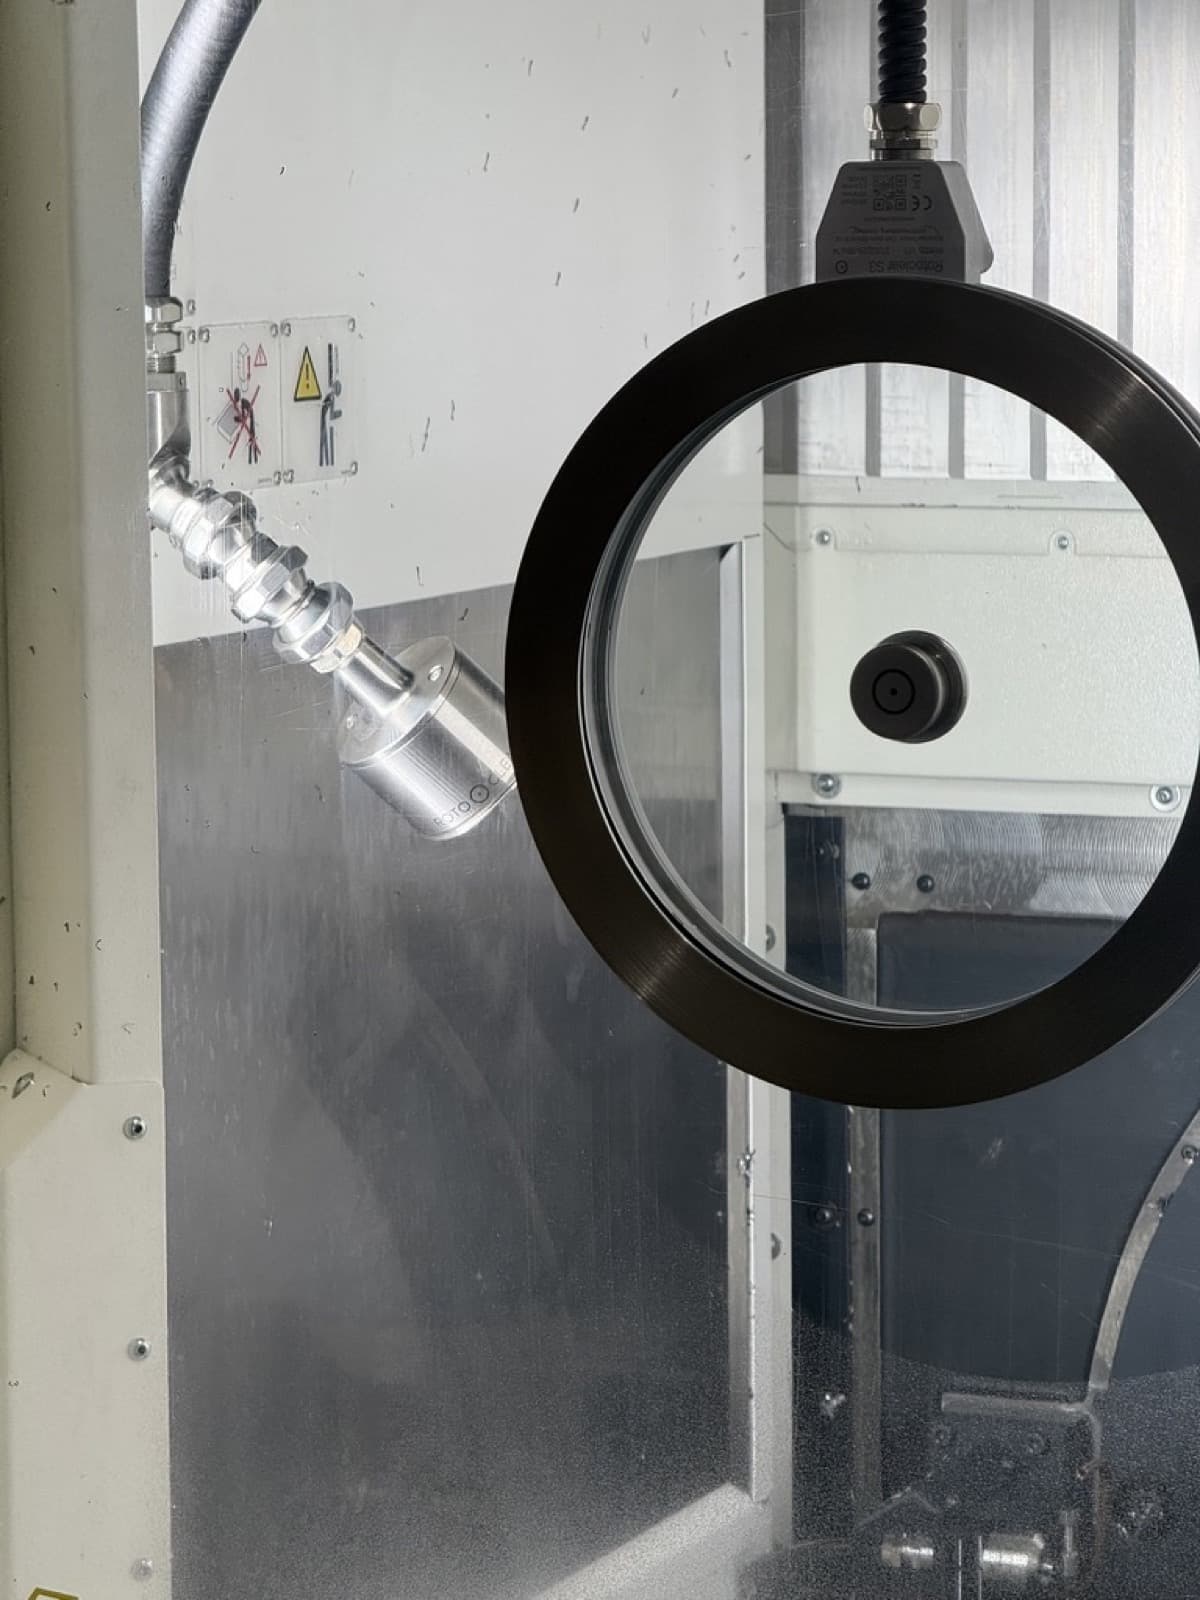
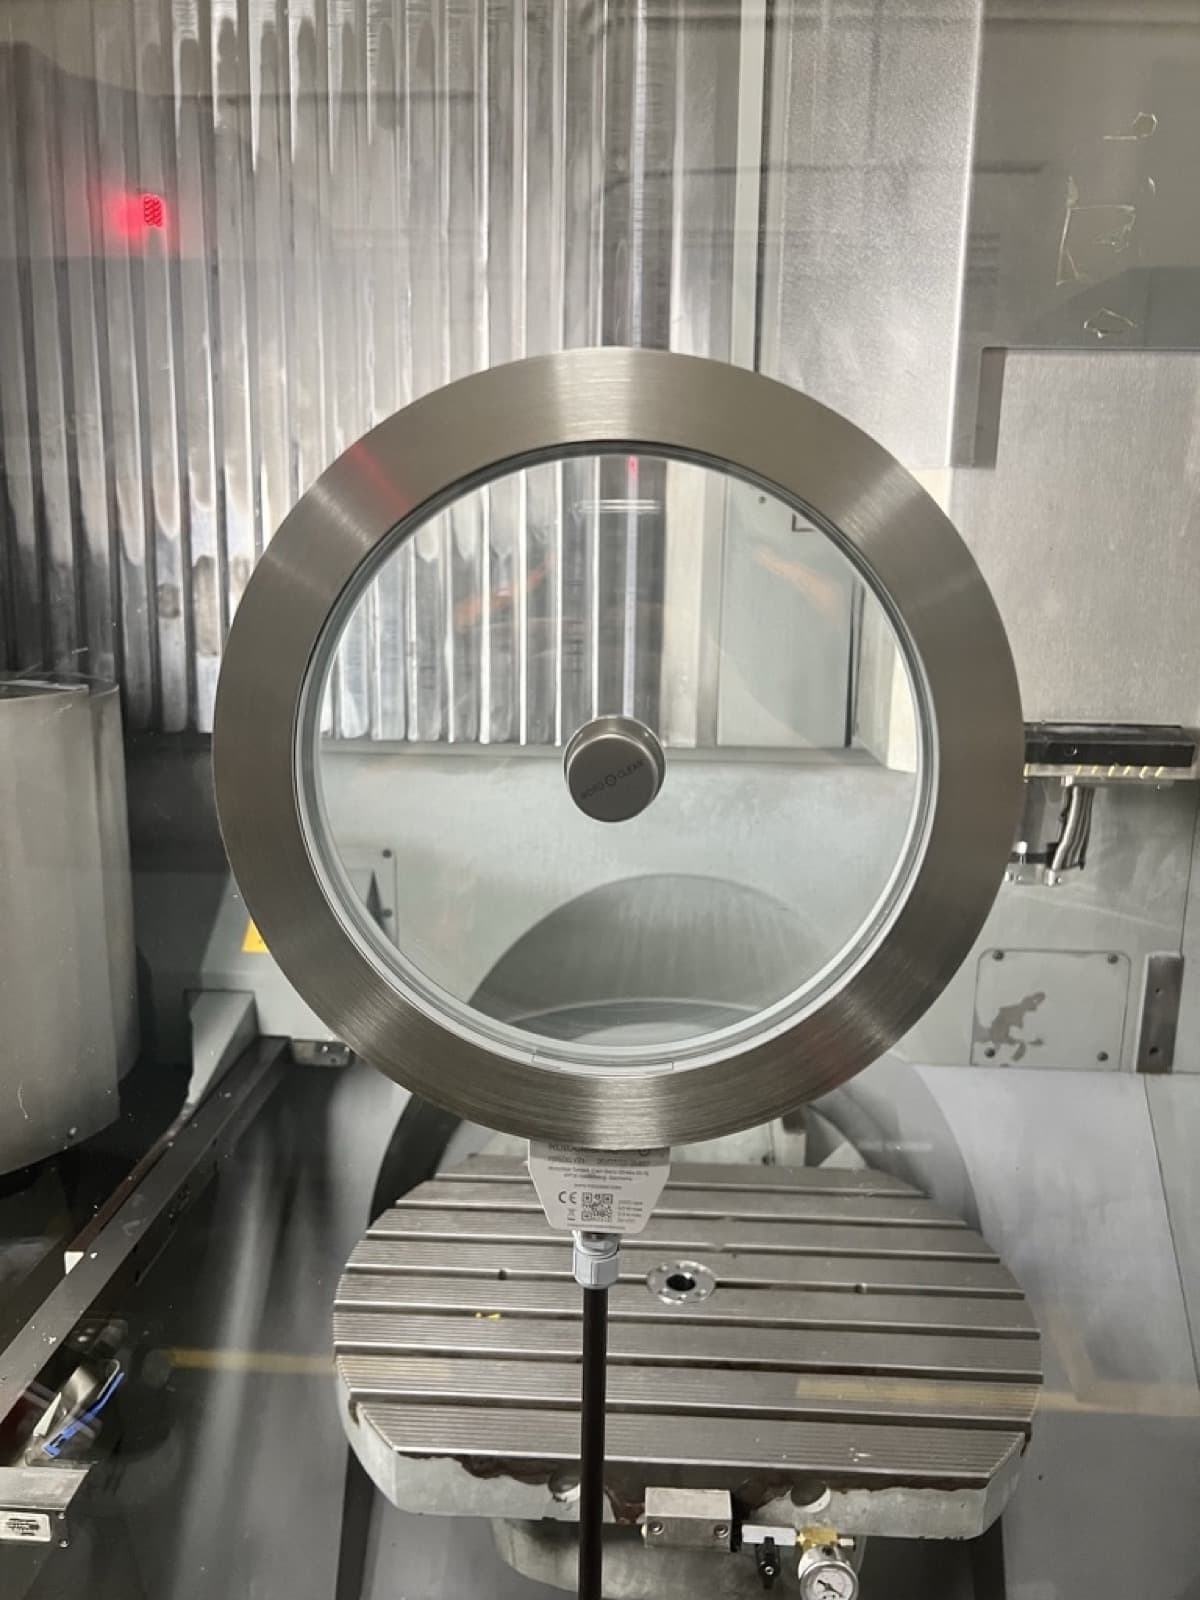
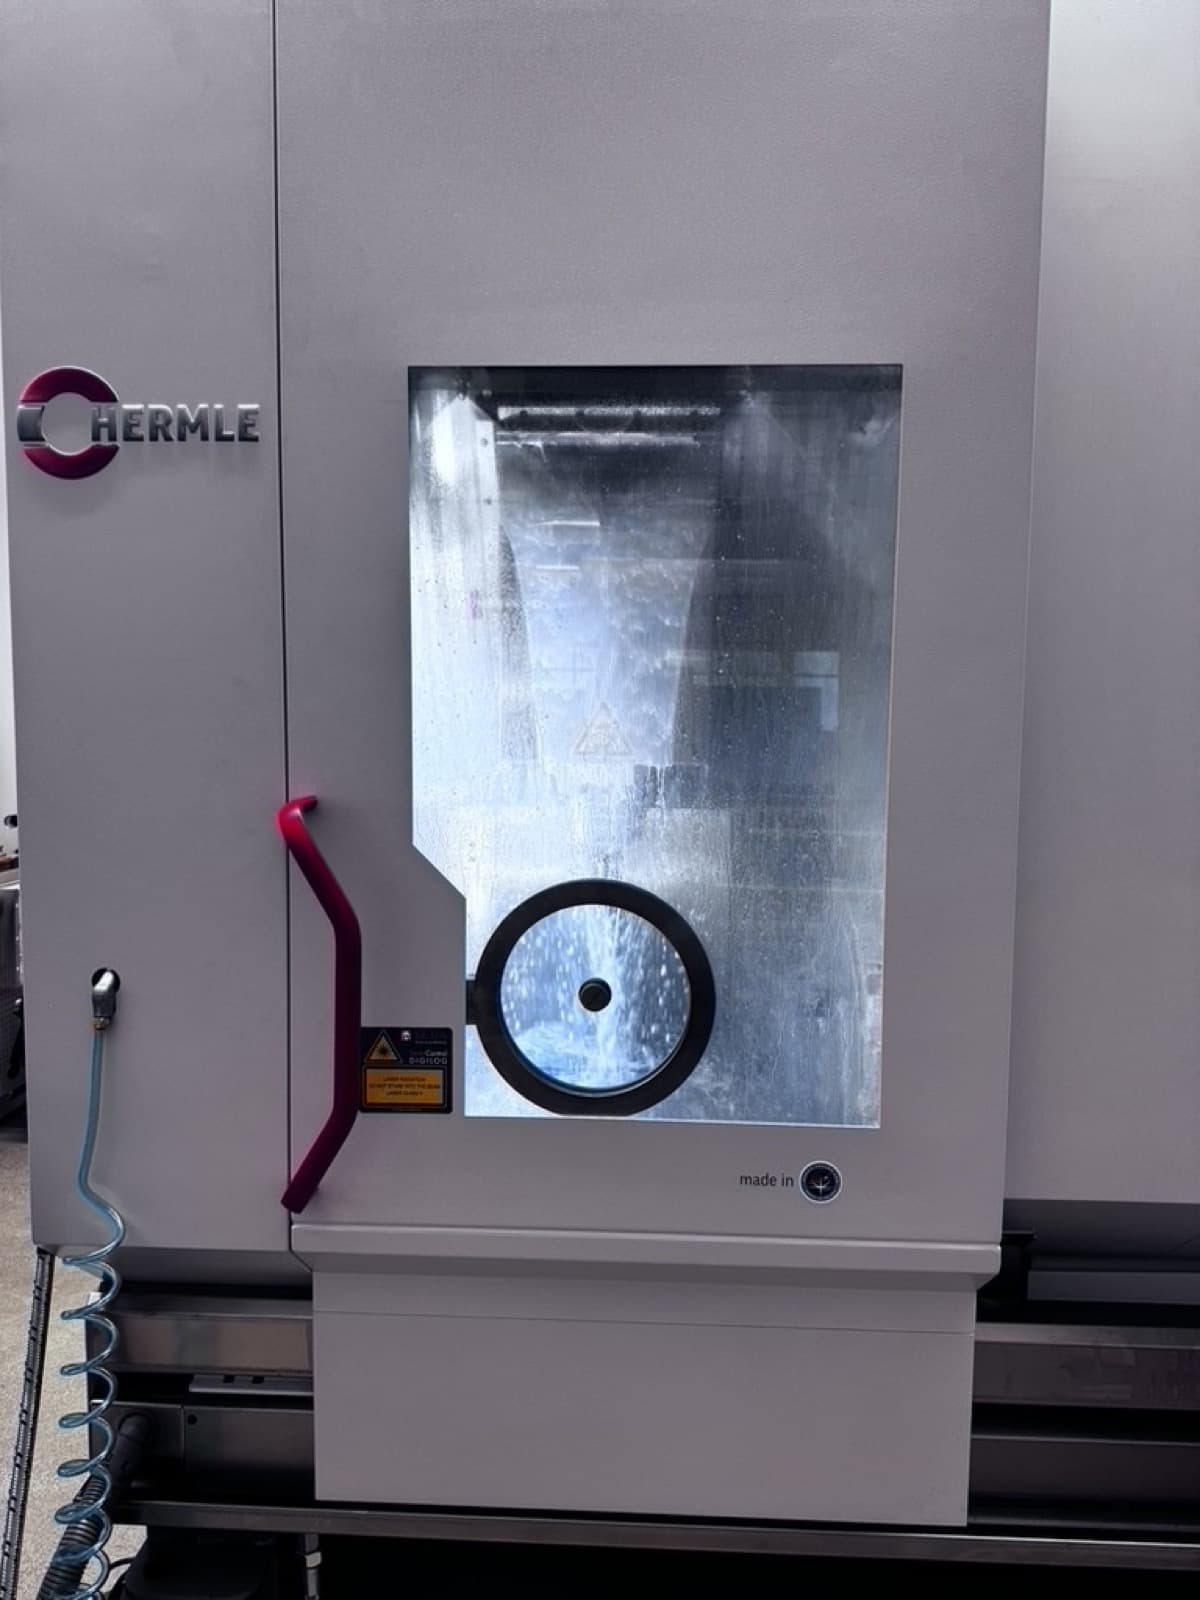
Rotoclear spinning windows mount either by bonding directly to existing glass — the adhesive version, no drilling — or by replacing the viewport with a screw-on frame. Which one fits depends on your machine's existing window and frame; we confirm this before you order.
02
Prep the surface
The adhesive mount needs a clean, primed surface and a cure window before the unit runs. The screw-on mount needs the existing viewport frame dimensions confirmed against the Rotoclear frame.
03
Verify the view
Once mounted, connect the sealing air and check for 2–5 mbar back pressure in the connection box with the manometer accessory (Rotoclear S3; for older units, ask us). Wearing safety glasses, switch on and confirm the window is spinning — it can be hard to see. Then run a test cut with the coolant aimed at the tool's cutting edge, not at the window, and check that the view stays clear.
Not sure if your machine's a fit?
Send us your machine model and we'll confirm mounting before you order — or configure directly and we'll follow up.